What Is Shopify Bill Pay? A Complete Guide for Merchants 2026
- Overview of Shopify Bill Pay
- How Shopify Bill Pay Works: Step-by-Step Process
- Features of Shopify Bill Pay
- Key Benefits of Using Shopify Bill Pay for Merchants
- Step-by-Step Guide: How to Set Up and Use Shopify Bill Pay
- Best Practices & Tips to Maximize Shopify Bill Pay Efficiency
- Limitations & Considerations for Shopify Bill Pay
- FAQs about Shopify Bill Pay
- The Bottom Line
What if managing vendor payments could be faster, simpler, and fully integrated into one platform? That’s where Shopify Bill Pay comes in. Designed to simplify expense tracking and streamline financial workflows, it allows merchants to pay vendors directly from the Shopify admin. This guide explains everything about Shopify Bill Pay, from pricing and features to setup steps. Keep reading to discover how it works, its benefits, and best practices. Let's unlock smarter financial management today!
Overview of Shopify Bill Pay
What is it?
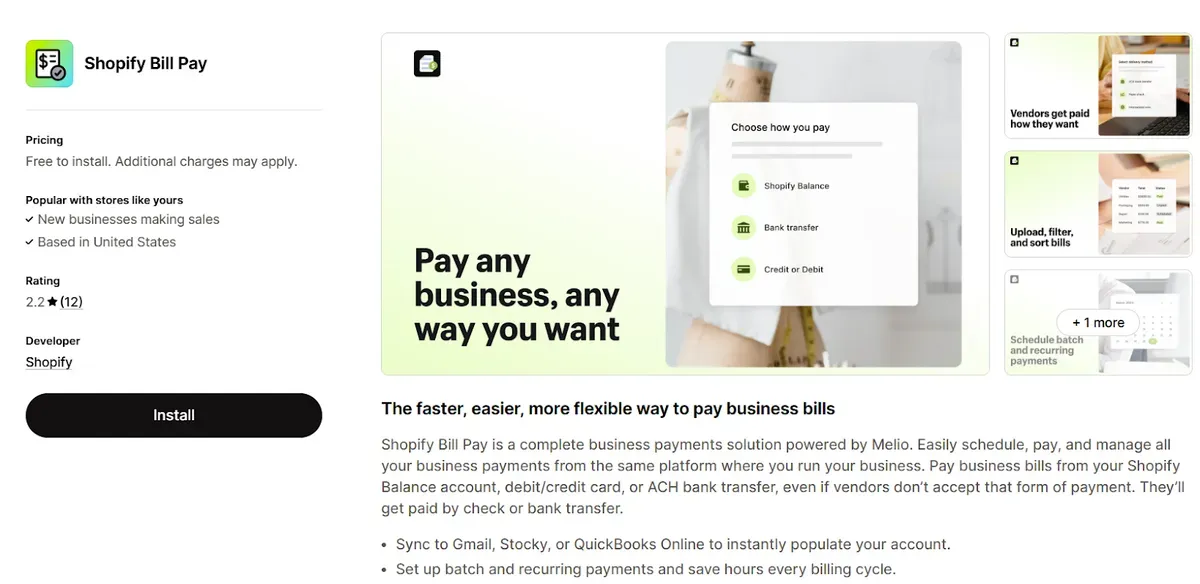
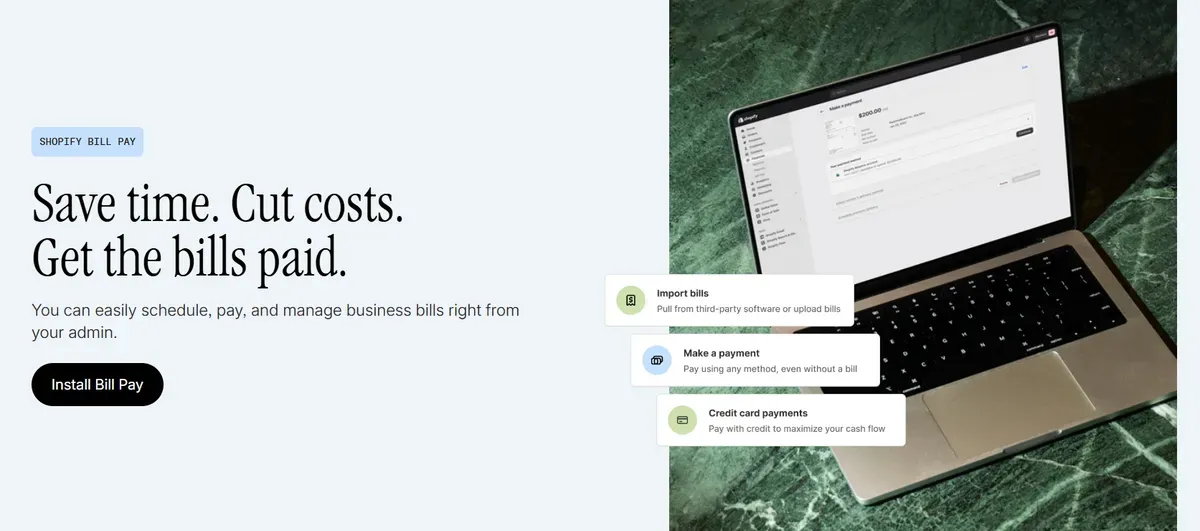
Shopify Bill Pay is a business payments tool built into Shopify’s platform. It allows merchants to schedule, pay, and manage invoices directly from the Shopify admin. Vendors, contractors, or suppliers can receive payments via ACH bank transfer, paper check, or wire transfer. Invoices from vendors can be emailed to a dedicated Shopify Bill Pay address or uploaded manually, then stored in one central dashboard for tracking.
Pricing Structure & Costs
There is no subscription or sign-up fee for Shopify Bill Pay. Basic payment methods like standard bank transfers (3-4 day processing) using Shopify Balance come with no additional cost. Some payment options carry fees. For example:
International transfers incur a flat fee (for example, about $20 per transaction)
Faster or non-standard payment methods may charge extra vs. standard ACH or Balance transfers.
Transparent billing lets merchants know in advance what a payment will cost, depending on the method.
Who should use Shopify Bill Pay?
Shopify merchants based in the United States benefit most from Shopify Bill Pay. Businesses that regularly handle vendor invoices, contracts, supplier bills, or utilities will find value in its centralized management.
Merchants who want more control over cash flow, like scheduling payments closer to due dates, reducing manual entry, and avoiding late fees, gain efficiency. Also, those who use or plan to use multiple payment methods (cards, ACH, checks) or who need to pay international vendors appreciate the flexibility.
How Shopify Bill Pay Works: Step-by-Step Process
Shopify Bill Pay works in a few simple steps. The first payment to a vendor sets the future flow. Payment preferences get stored once a method is chosen. Adapting those preferences happens anytime through settings.
When a new vendor gets entered, the vendor’s details, such as name, payment method, bank account, or check address, are added. That is done once. After that, repeat payments miss that setup. Vendor’s info appears automatically. No vendor signup required.
Here is a breakdown:
Add a bill or invoice via email, upload, or manual entry.
Choose the vendor’s preferred receiving method (ACH, check, wire) and the merchant’s preferred paying method.
Schedule payment: immediate, future date, or recurring.
Every subsequent invoice for that vendor skips reentering details. Dashboard shows bills pending, paid, and upcoming. This keeps vendor info and preferences centrally managed. Real-time visibility helps monitor spending.
Features of Shopify Bill Pay
Shopify Bill Pay delivers a collection of capabilities designed to simplify vendor payments and expense tracking:
Unified Shopify admin dashboard
Merchants can handle and pay all bills directly from the Shopify admin dashboard. This centralizes vendor management, bill tracking, payment status, and history in one place. No bouncing between different systems to see what’s due, what’s paid, or what needs attention.
Schedule payments with ease

Payment scheduling becomes straightforward. Bills can be set to pay immediately, at a future date, or even in batches or recurring cycles. That ensures bills get handled on time without last-minute rushes.
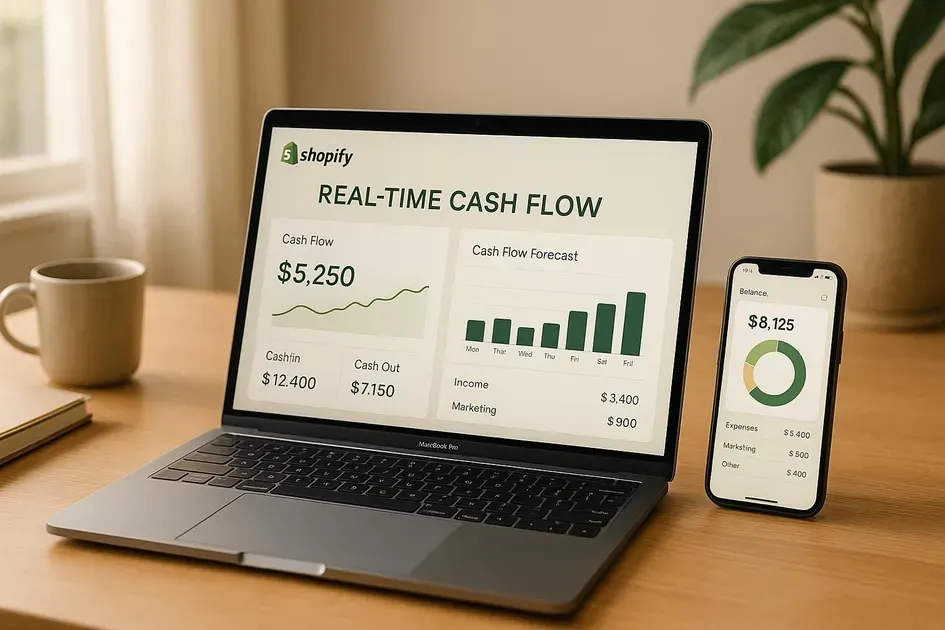
Access real-time insights into financial spending
Real-time cost data appears in dashboards so that merchants can monitor cash flow and spending trends. Alerts and summaries highlight upcoming bills, overdue invoices, and where money goes. This provides clarity about where expenses may be rising.
Monitor expenses and organize vendors with filters and sorting

Vendors and bills can be sorted or filtered by date, amount, vendor name, payment status, or due date. This makes finding specific bills or vendor profiles fast. Organized vendor lists simplify repeated payments and help avoid duplicate entries.
Upload expenses through email or images

Expenses arrive via multiple channels. Invoices can be emailed directly to a dedicated Bill Pay address. PDFs or image files (like JPG scans of bills) can be uploaded manually. This reduces manual typing and simplifies bill creation.
Key Benefits of Using Shopify Bill Pay for Merchants
Shopify Bill Pay delivers powerful advantages that go beyond simple invoice payments:
Eliminate boring and time-heavy expense tracking

Managing bills, matching receipts, and updating records consume time. Shopify Bill Pay automates much of that work. It consolidates expense tracking inside the Shopify admin. This frees hours that can redirect toward more strategic tasks.
Streamline payment methods as your business expands
Growth often brings complications, such as handling multiple payment types and vendor preferences. Shopify Bill Pay unifies payment workflows. It lets merchants manage vendors, pay bills, and select payment modes—all from the same dashboard.
Allow flexibility in choosing preferred payment options
Vendors sometimes only accept certain payment forms. Shopify Bill Pay gives merchants control by letting them pay in preferred ways, such as credit, debit, or bank transfer, even if the vendor isn’t set up for them. Vendors still receive payments in their accepted format.
Easily monitor expenses and handle vendor management
Tracking many expenses and vendors can become overwhelming as the number of bills rises. Shopify Bill Pay supplies tools to filter, sort, and schedule payments. The dashboard shows unpaid bills, vendor status, and payment history in clear view.
Cut down on time and simplify administrative tasks
Merchants save significant time with Shopify Bill Pay. The tool cuts down manual work like paper checks, spreadsheets, or switching platforms. According to Shopify, this solution saves about 16 hours per month on B2B bill payments versus typical processes.
Offer a complete overview of your store’s financial status
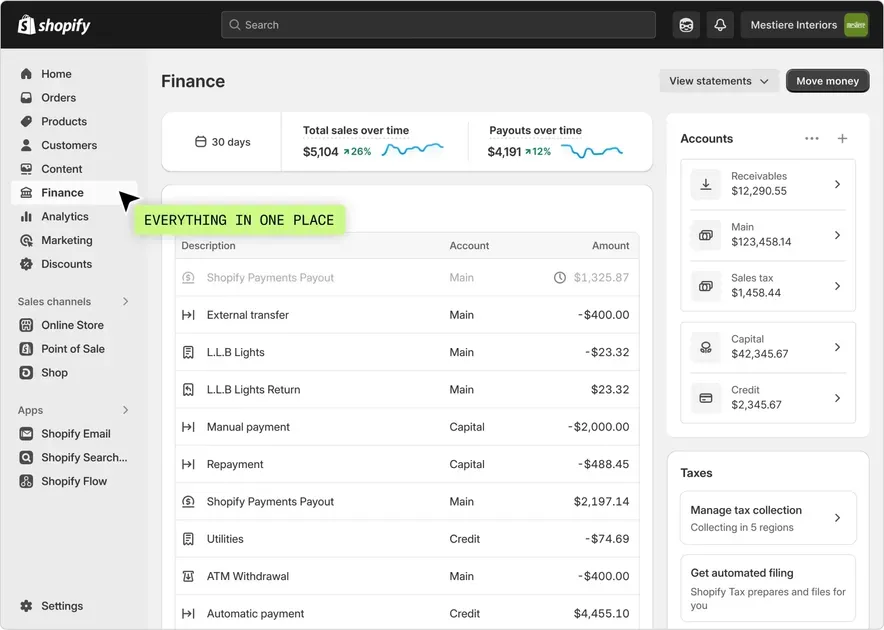
Integration with Shopify Balance and other financial tools gives visibility into cash flow, card spending, virtual or physical spending accounts, and vendor payout methods. Merchants gain a holistic view of store finances, not just fragmented pockets.
Step-by-Step Guide: How to Set Up and Use Shopify Bill Pay
Below is the step-by-step instruction to set up Shopify Bill Pay smoothly:
Step 1: Confirm eligibility
Check if the store is based in the United States. Shopify Bill Pay works only for US-based merchants.
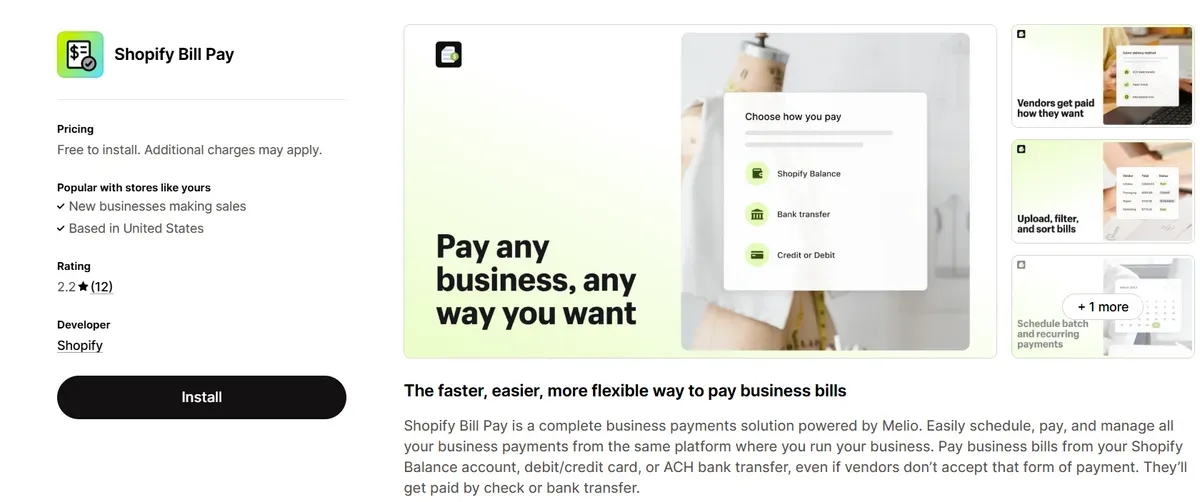
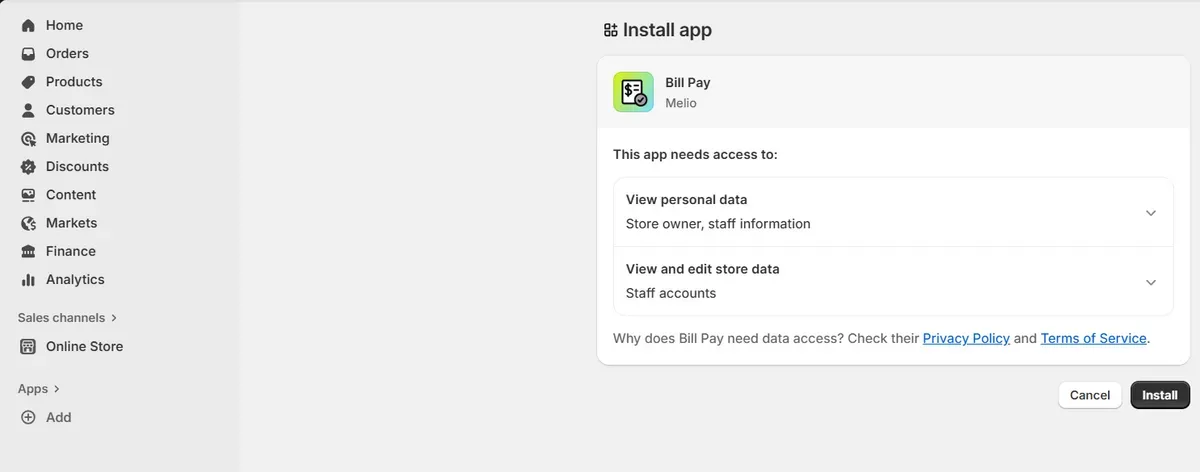
Step 2: Install Shopify Bill Pay
Go to the Shopify App Store and search for Shopify Bill Pay.
Click Install.
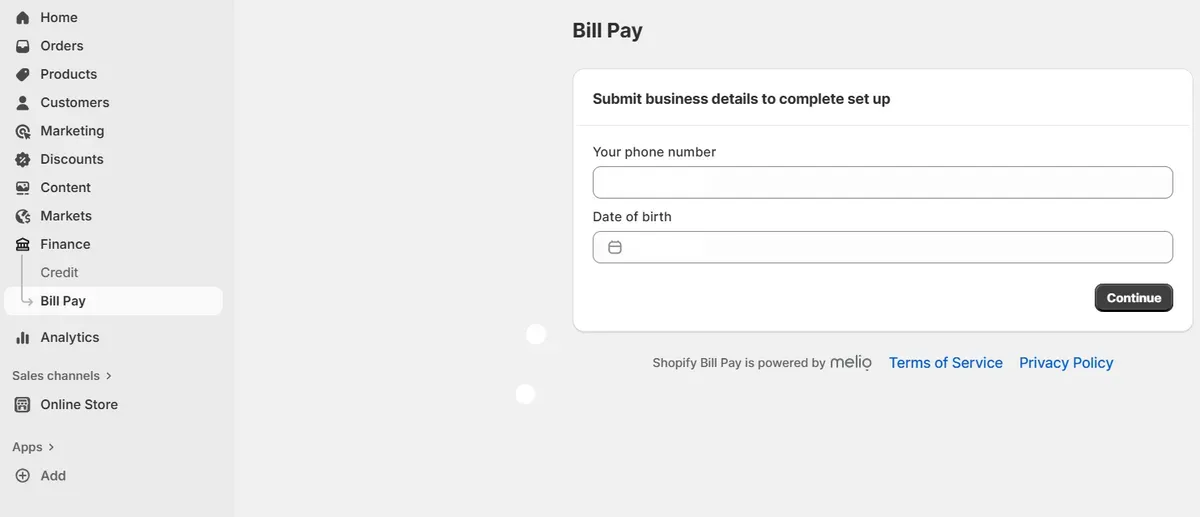
- Go to the Shopify admin. Select Finance > Bill Pay. Enter your phone number and date of birth. Then, click Continue.
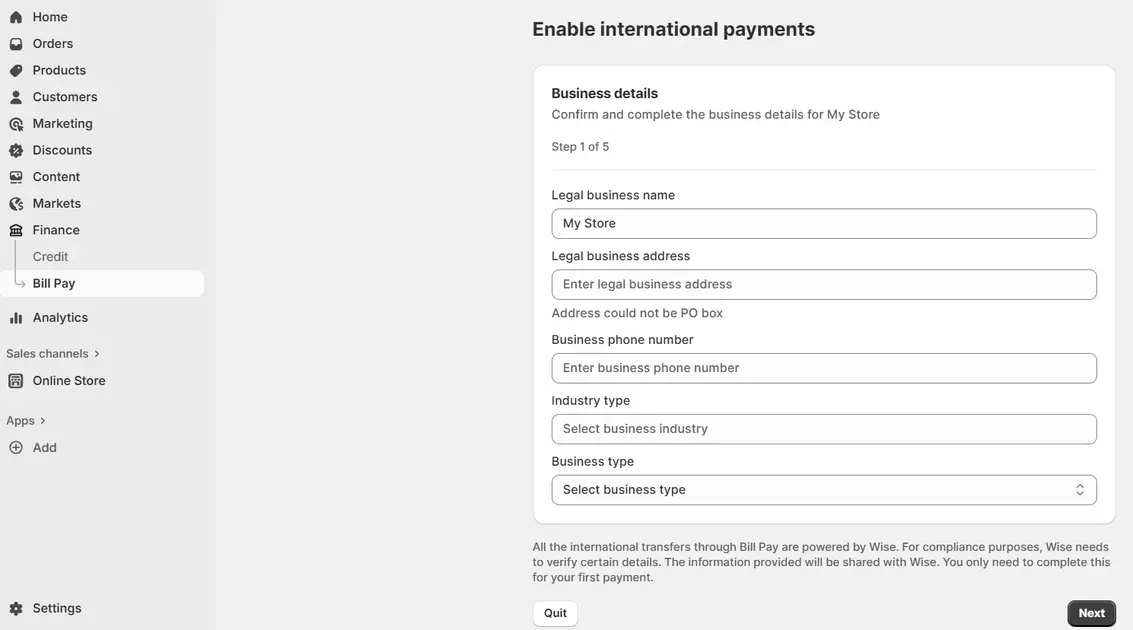
Step 3: Configure payment methods & vendor settings
- Click on Enable international transfers.
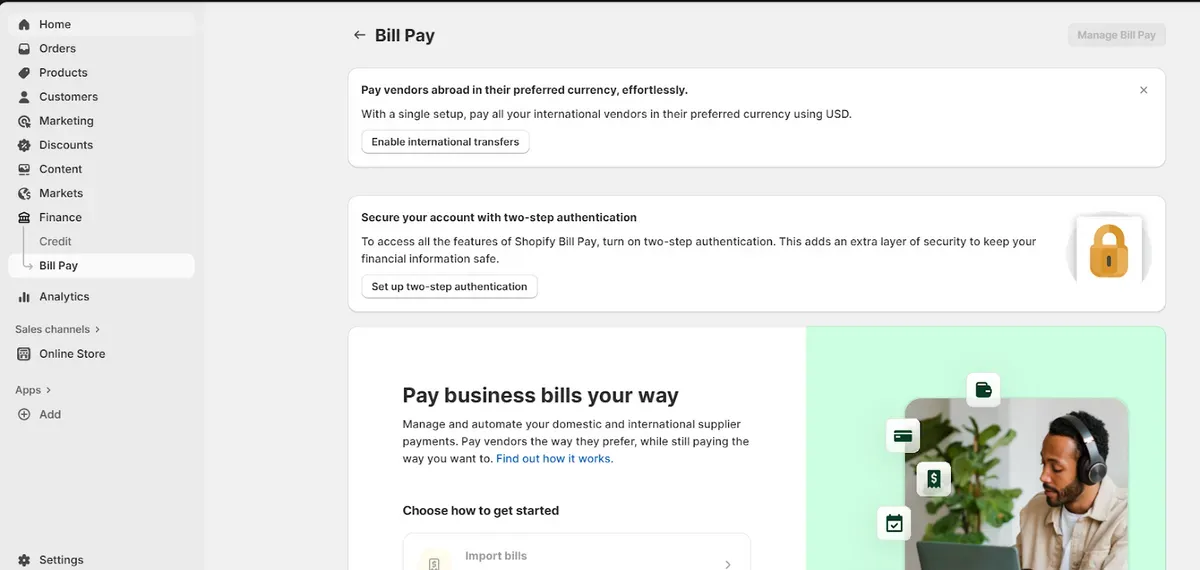
- Confirm and fill in your business details. Once done, click Next.
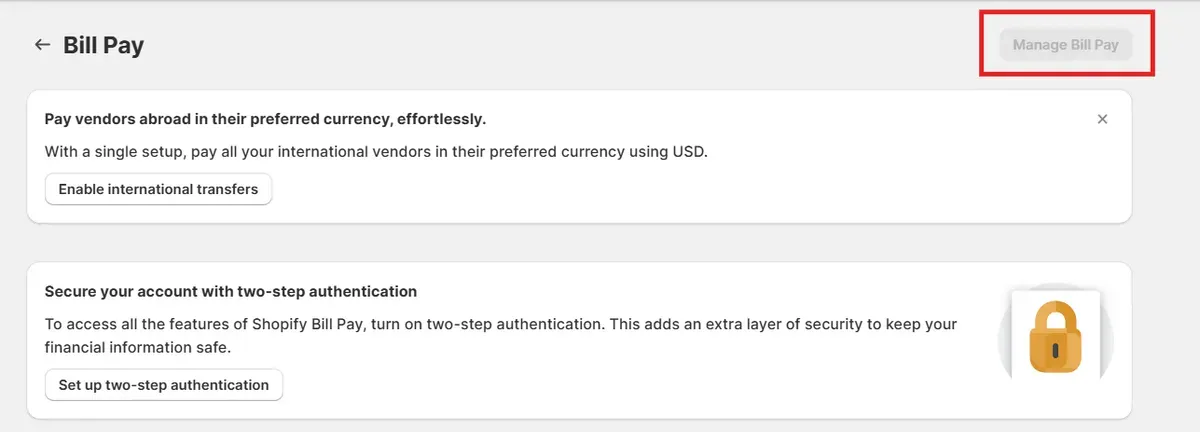
Step 4: Complete the setup
- Click Manage Bill Pay.
In the Your payment methods section, click Add payment method.
Select the Bank account and choose a verification method:
Plaid instant verification – Click Connect instantly and follow the prompts to link your account.
Micro-deposits verification – Enter your account details and click Verify with micro-deposits. Shopify Bill Pay will send two small deposits (under $1 USD) to your account. Once they appear, verify the amounts by email. After confirmation, your bank account becomes active for payments. Deposits are withdrawn within 1–2 business days.
Step 5: Add a Credit or Debit Card (Optional)
- In the same section, select Credit.
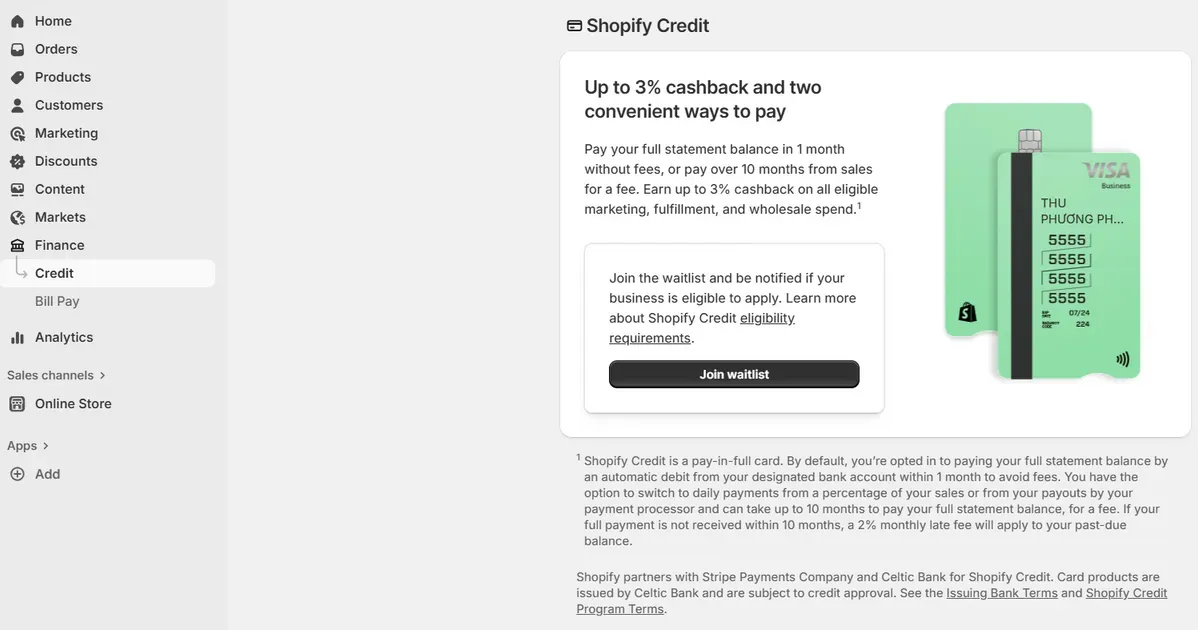
- Enter the card information. Supported cards include Visa, Mastercard, AMEX, Discover, and Diners Club.
Best Practices & Tips to Maximize Shopify Bill Pay Efficiency
Shopify Bill Pay offers strong value out of the box. Applying some smart practices amplifies that value. These tips help save money, cut mistakes, and streamline financial workflows:
Use credit cards for rewards & cashback
Choosing credit card payments when possible brings rewards or cashback. Some credit cards provide points, others return a percentage. Those benefits add value when paying regular & large bills. Faster processing also comes with certain credit card options. Avoid choosing credit if fees eat up the reward. Shopify Bill Pay supports credit card payments.
Schedule payments
Setting up payment schedules near due dates prevents late fees. Makes cash flow more predictable. Avoid paying too early, which can tie up funds unnecessarily. Keeping vendor relationships strong helps when payment windows matter or negotiations exist. Shopify Bill Pay lets merchants plan payments ahead.
Integrate with accounting tools
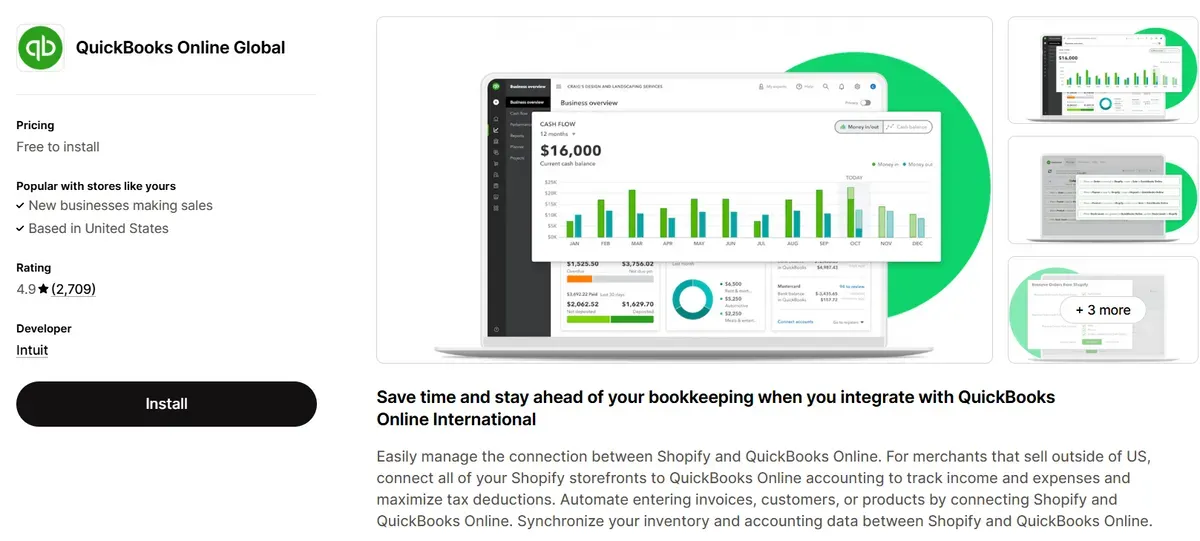
Syncing Bill Pay with accounting software prevents duplicated entry and errors. Merchants gain an accurate record of unpaid, scheduled, and completed bills. QuickBooks Online integration helps keep financial books aligned with operational reality.
Use Shopify Balance to skip transaction fees
Pay bills using Shopify Balance to reduce or avoid fees. Standard bank transfers via Shopify Balance (3-4 day processing) often come with no extra charge. Using Balance as the primary payment method gives more control and can cut costs.
Maintain clear vendor and invoice records
Keep vendor details up to date: correct names, addresses, bank info. Ensure invoices are sent to the dedicated Shopify Bill Pay email or manually added accurately. Use filters and sorting in the dashboard to locate unpaid or overdue bills swiftly.
Monitor cash flow and payment timing
Track incoming and outgoing funds regularly. Use dashboards and reports in Shopify Balance and Bill Pay to spot when bills will hit. Delaying non-urgent payments a bit can help keep enough buffer for unexpected expenses.
Limitations & Considerations for Shopify Bill Pay
Shopify Bill Pay provides many advantages, but merchants should also be aware of potential challenges. Understanding these issues helps avoid delays or disruptions in payment workflows.
#1. Payments may arrive slower than expected
Payment delivery depends on the method chosen. ACH or bank transfers can take several business days. If a payment gets submitted after Shopify’s daily processing cutoff, it starts processing the next business day. Federal holidays also delay transfers. First-time payments to a vendor often go through review, which adds time. Large-value payments sometimes require more verification and take longer than usual.
#2. Expiring link to choose the payment method
Vendors who receive an email with a link to select their preferred delivery method must act quickly. The link remains valid for only seven days. If the vendor doesn’t use it before expiration, payment cancels. The merchant must resend a new payment request with a fresh link.
FAQs about Shopify Bill Pay
What payment methods can I use with Shopify Bill Pay domestically?
You can pay using bank transfers (ACH), credit cards, debit cards, or Shopify Balance in the U.S. Vendors can receive payments via ACH bank transfer or paper checks.
How to pay Shopify bill manually?
Merchants can pay bills manually by uploading an invoice to Shopify Bill Pay or by forwarding it to the dedicated Bill Pay email. After adding the bill, the payment method and schedule can be selected directly in the Shopify admin dashboard.
Are there fees or subscription costs for Shopify Bill Pay?
No monthly subscription fee or signup fee applies. Some payment methods incur transaction fees—credit cards and fast delivery options cost more than standard bank transfers.
What happens if a vendor doesn’t have a bank account / prefers checks?
If a vendor lacks a bank account or prefers checks, Shopify Bill Pay supports payment by paper check. The vendor simply provides a mailing address, and the check is issued and mailed.
Is Shopify Bill Pay secure, and what compliance/verification is required?
Yes, Shopify Bill Pay uses bank account verification (via instant connection like Plaid or micro-deposits) when adding a bank account. For cards, standard credit card security rules apply. All financial data is handled under Shopify’s security policies.
The Bottom Line
Shopify Bill Pay creates a streamlined way to handle vendor payments directly inside the Shopify admin. It combines scheduling, multiple payment options, and real-time visibility to simplify financial workflows. Merchants gain time savings, better cash flow control, and improved vendor relationships.
Choosing Shopify Bill Pay can be a smart step toward stronger business efficiency. Are you ready to cut down on manual tasks and improve expense management? Explore how this tool can reshape your store’s financial operations today.

Hey! I'm Linda Bui. Join me as we explore tips and tutorials about Shopify apps and Shopify themes for your Shopify store.
Start Building Trust Today
Install the Product Reviews app to improve your store's credibility and boost sales with real customer reviews.
Get Started with Zero CostWhat to not miss out on our blog
Gain insightful knowledge and invaluable experiences from dedicated experts.

Shopify vs Clover 2026: Online or POS—Which Is Right for You?
Confused between Shopify vs Clover? This comparison breaks down features, costs, and use cases. Find the right fit for e-commerce or in-person sales now!
Newsletter
Get all the stories you need-to-know from the most powerful name in news delivered first thing every morning to your inbox